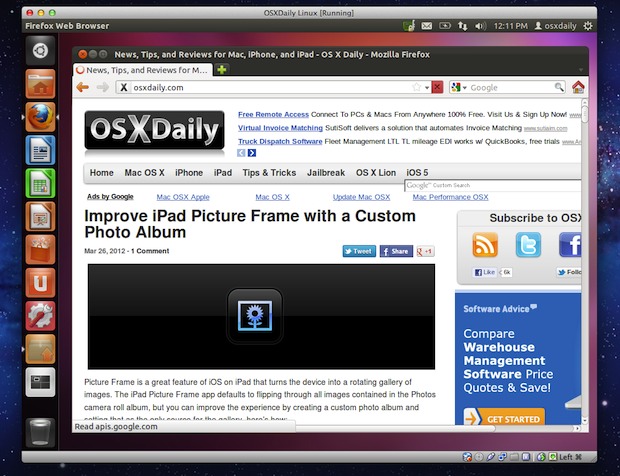
If you want to experiment with Linux without dual booting and potentially impacting your main operating system, the best way to do so is with virtualization. Virtualization allows you to run Linux directly atop your primary OS, whether it’s Mac OS X or Windows, in a separate virtual machine, with practically no potential for error. It’s completely free and fairly easy to set up, we’ll walk you through the entire process.
Requirements
- Download VirtualBox (free) and install it
- Download a 64-bit Ubuntu Linux ISO (free) and save it to the desktop
- Have at least 512MB RAM free and at least 5GB of hard disk space available
Be sure to meet the above requirements before beginning. Once VirtualBox is installed and the Ubuntu ISO is downloaded, you can proceed with set up and installation.
Installing Ubuntu Linux in VirtualBox
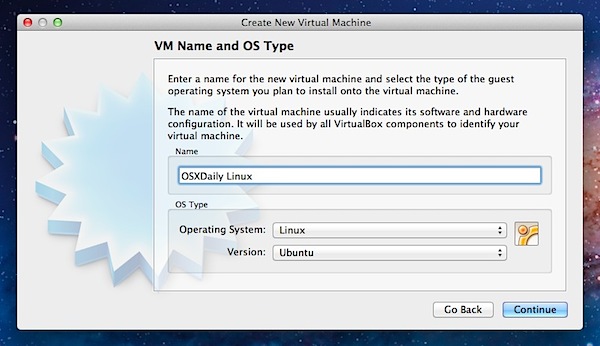
- Launch VirtualBox and create a new virtual machine, name it something like “Ubuntu Linux” and set the Operating System to “Linux” and version to “Ubuntu” and set the base memory to at least 512MB or 1GB
- Create a new virtual hard disk and check “Start-up Disk”, click Continue and choose VDI as the disk type
- Optional: Set the storage details to be “Dynamically allocated” to preserve some initial disk space
- Name the virtual disk something obvious like “Linux VM” and make it at least 5GB (8GB recommended) and click “Create” to produce the virtual hard drive
- At the VirtualBox Manager screen, select the newly created “Ubuntu Linux” virtual machine and click on the “Settings” button
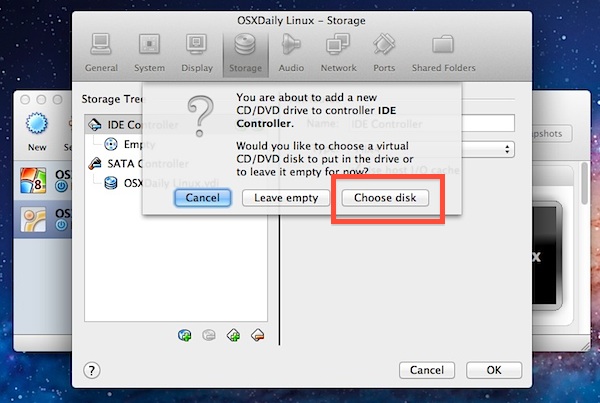
- Click on the “Storage” tab and next to “IDE Controller” click the + icon that looks like a CD to add a new IDE Controller
- Click “Choose Disk” and locate the Ubuntu ISO (named something like ” ubuntu-11.10-desktop-amd64.iso”) that you downloaded earlier, then click “OK” and close out of Settings
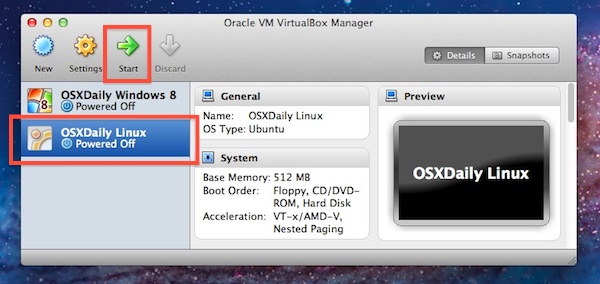
- Back at the VirtualBox Manager screen, select the Linux virtual machine and click on “Start” to begin booting the VM
- Let the VM boot and choose “Install Ubuntu” at the welcome screen, create a login and user name, set time zones, and click through the simple installation process until it begins
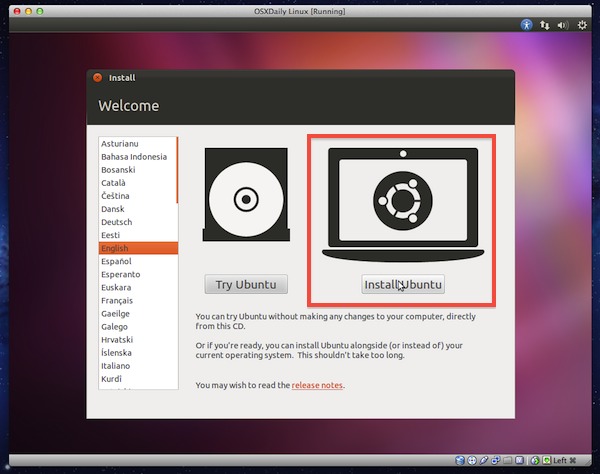
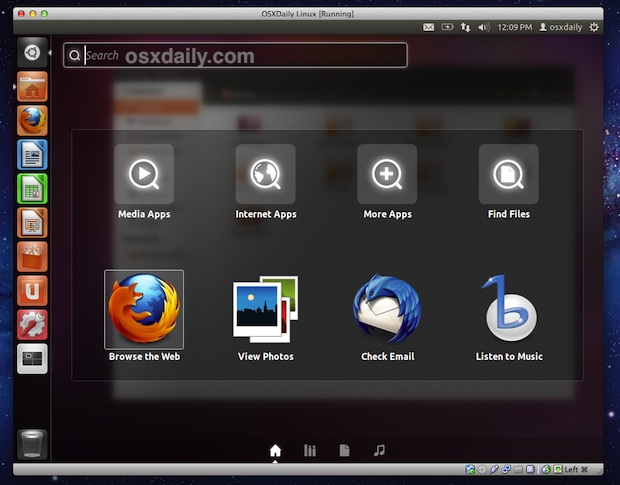
How long it takes to install Ubuntu Linux in the virtual machine varies on the speed of the computer and the speed of the internet connection, but somewhere between 20 and 45 minutes is not unusual. When finished, Ubuntu Linux will boot into the desktop and you can start exploring and having fun.
Because Ubuntu is contained within a virtual machine, it’s practically impossible to screw up your host computer, so feel free to explore, try out new commands, install random software, and learn without fear of breaking anything. The only thing you can potentially mess up is the virtual machine itself, which is unlikely but could be simply deleted and reinstalled again if it happened.
If you enjoyed this post, don’t miss our other VirtualBox how-to guides,
No comments:
Post a Comment